Quickstart
This tutorial walks you through installing the SDK, connecting to the Hub, and running a complete evaluation against an LLM agent — from dataset creation to reading results.
Install with a coding agent
Section titled “Install with a coding agent”The fastest way to set up the Giskard Hub SDK. Paste a single URL into your coding agent and it handles everything — dependency installation, authentication, and environment setup.
How it works
Section titled “How it works”- Paste the URL into any coding agent (Claude Code, Cursor, Windsurf, Copilot, etc.)
- The agent reads the quickstart instructions from this page
- The agent installs
giskard-huband configures authentication - You review the changes and start running evaluations
Prerequisites
Section titled “Prerequisites”- Python 3.10 or later
- A running Giskard Hub instance (cloud or self-hosted)
- An API key from the Hub UI
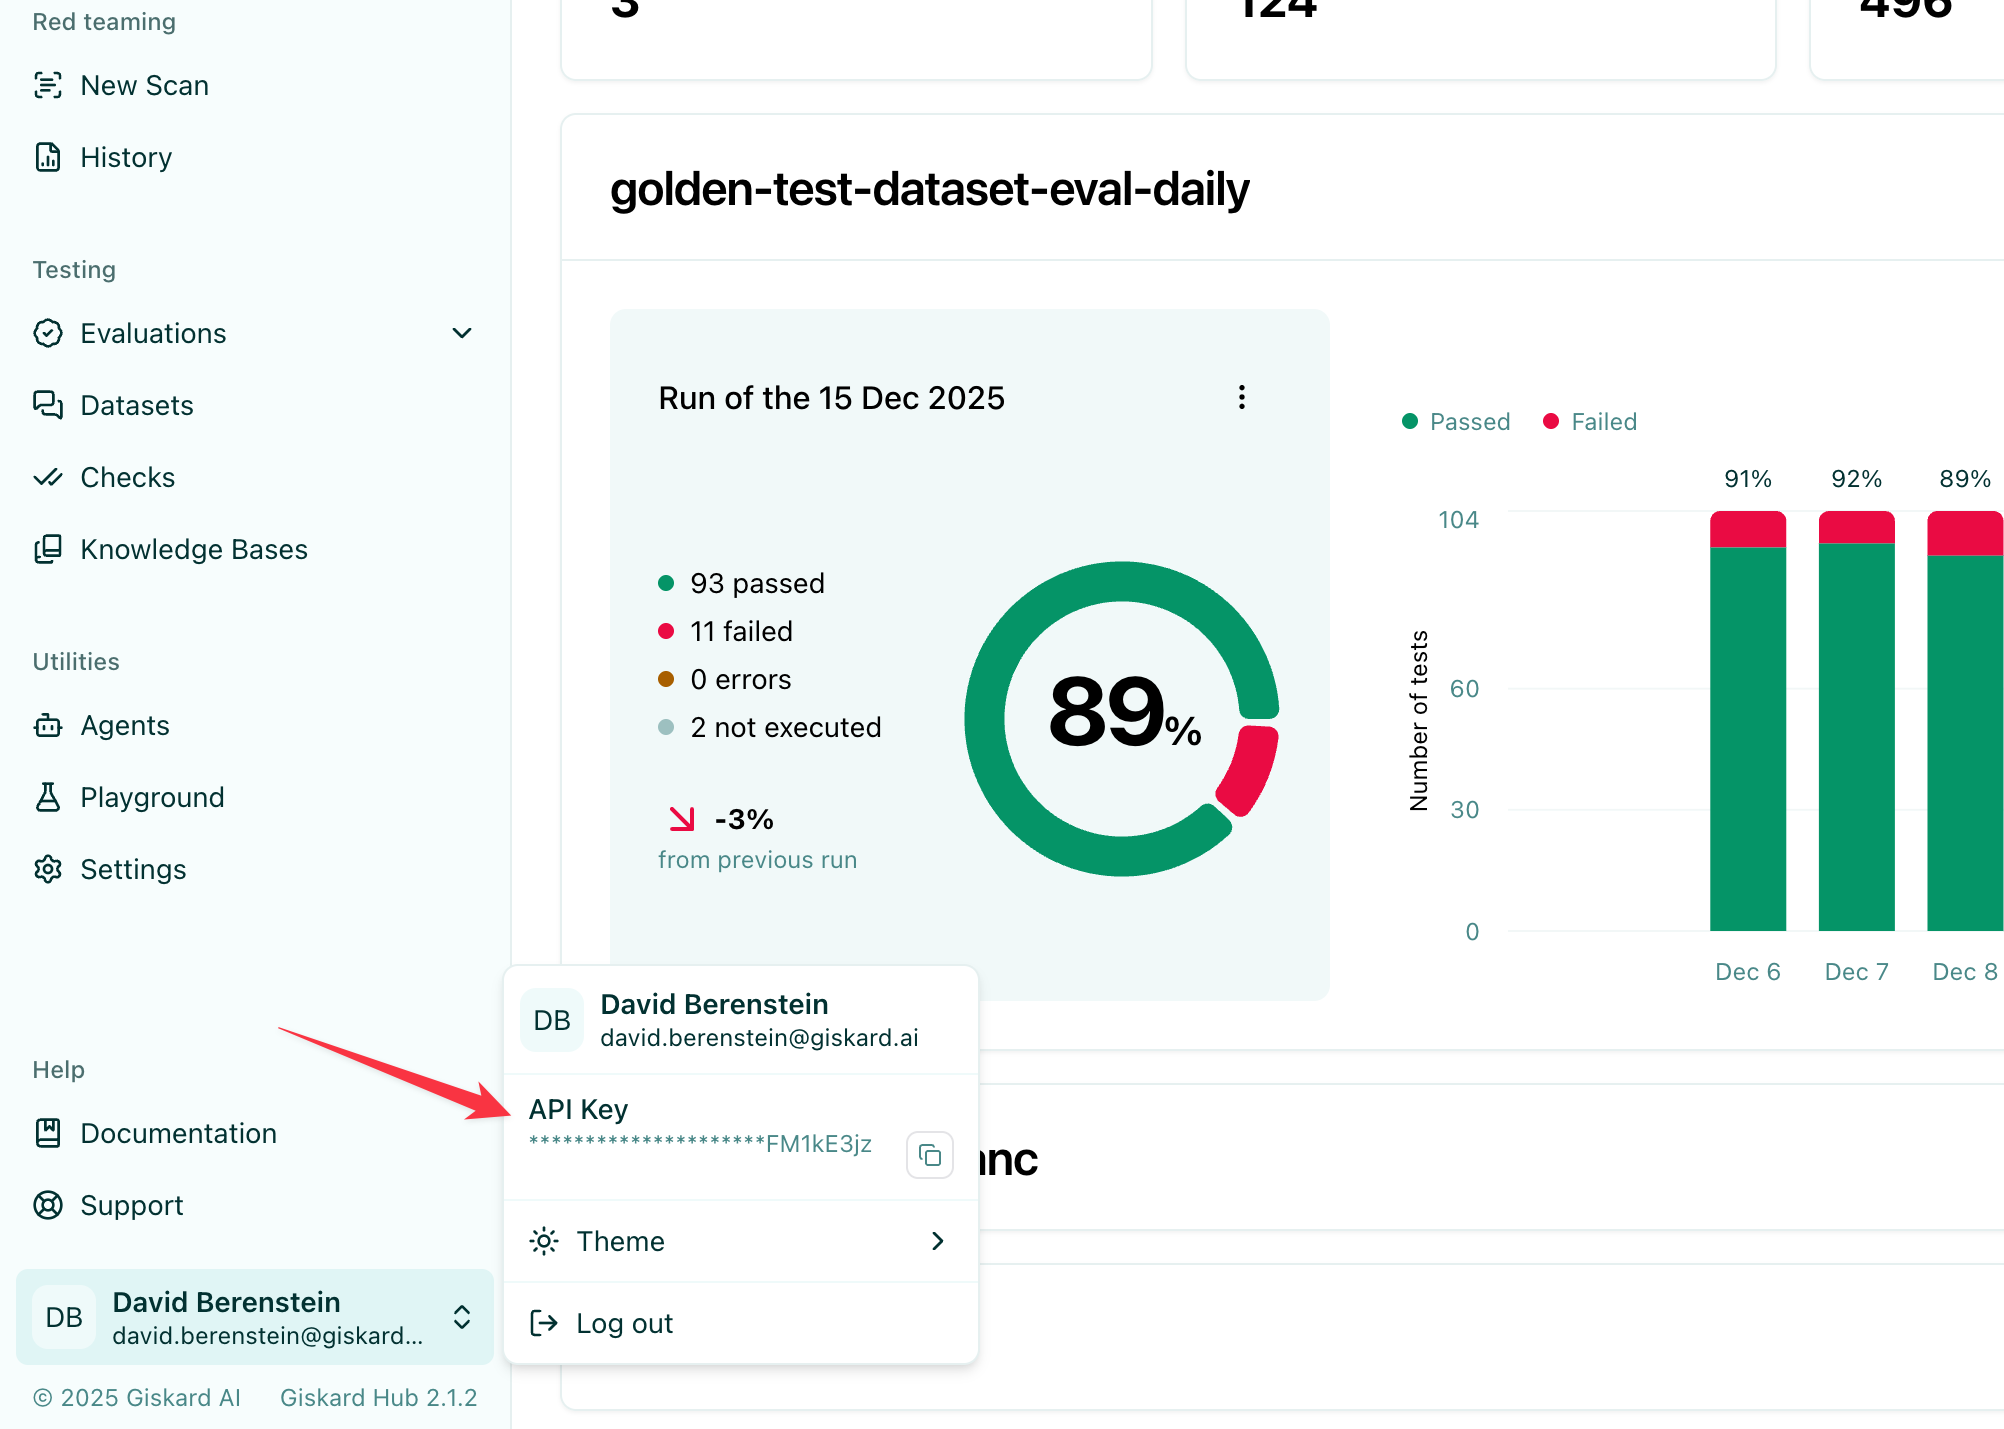
Finding your API key
Section titled “Finding your API key”Click the user badge in the bottom-left corner of the Hub UI, then copy the API Key value:
1. Install the SDK
Section titled “1. Install the SDK”pip install giskard-hub2. Configure authentication
Section titled “2. Configure authentication”The SDK reads your Hub URL and API key from environment variables. Set them before running any code:
export GISKARD_HUB_BASE_URL="https://your-hub-instance.example.com"export GISKARD_HUB_API_KEY="gsk_..."Alternatively, pass them directly to the client constructor:
from giskard_hub import HubClient
hub = HubClient( base_url="https://your-hub-instance.example.com", api_key="gsk_...",)3. Create a project
Section titled “3. Create a project”Projects are the top-level container for all your resources. Create one or retrieve an existing one:
# Create a new projectproject = hub.projects.create(    name="Customer Support Bot",    description="Evaluation project for our support chatbot",)
# Or list existing projects and pick oneprojects = hub.projects.list()project = projects[0]
print(f"Using project: {project.name} ({project.id})")
4. Register an agent
Section titled “4. Register an agent”An agent points to your LLM application. The Hub calls this endpoint during evaluations.
agent = hub.agents.create(    project_id=project.id,    name="Support Bot v1",    description="GPT-4o-based customer support chatbot",    url="https://your-app.example.com/api/chat",    supported_languages=["en"],    headers={"Authorization": "Bearer <your-app-token>"},)
print(f"Agent registered: {agent.id}")5. Run a vulnerability scan
Section titled “5. Run a vulnerability scan”Before building a dataset, run a quick scan to surface security weaknesses in your agent:
scan = hub.scans.create(    project_id=project.id,    agent_id=agent.id,    tags=["gsk:threat-type='prompt-injection'"],)
print(f"Scan started: {scan.id}")
scan = hub.helpers.wait_for_completion(scan)
print(f"Scan complete. Grade: {scan.grade}")
# Print detailed probe resultshub.helpers.print_metrics(scan)
The grade ranges from A (no issues found) to D (critical vulnerabilities detected). See Vulnerability Scanning for the full tag catalogue, KB-grounded scans, and how to review probe results and turn successful attacks into test cases.
6. Create a dataset and add test cases
Section titled “6. Create a dataset and add test cases”A dataset is a collection of test cases — conversations with expected outcomes and quality checks.
dataset = hub.datasets.create(    project_id=project.id,    name="Core Q&A Suite",    description="Basic correctness and tone checks",)
# Add a test casehub.test_cases.create(    dataset_id=dataset.id,    messages=[        {"role": "user", "content": "What is your return policy?"},    ],    demo_output="We offer a 30-day return policy for all items.",    checks=[        {            "identifier": "correctness",            "params": {                "reference": "We offer a 30-day return policy for all items."            },        },    ],)
The checks field controls which criteria are applied to each agent response — these can be LLM-judge, embedding similarity, or rule-based checks. See Datasets & Checks for the full list of built-in checks and how to define custom ones.
7. Run an evaluation
Section titled “7. Run an evaluation”Now trigger an evaluation that sends every test case to your agent and scores the responses:
evaluation = hub.evaluations.create(    project_id=project.id,    agent_id=agent.id,    dataset_id=dataset.id,    name="v1 baseline",)
print(f"Evaluation started: {evaluation.id}")
evaluation = hub.helpers.wait_for_completion(evaluation)
print("Evaluation complete!")
8. Read the results
Section titled “8. Read the results”Once complete, print the metrics summary and inspect individual results:
# Print a formatted metrics tablehub.helpers.print_metrics(evaluation)
You can also iterate over individual results programmatically:
results = hub.evaluations.results.list(evaluation.id)
for result in results:    print(f"Test case {result.test_case.id}: {result.state}")    for check in result.results:        print(f"  {check.name}: {'passed' if check.passed else 'failed'}")
You can also view the full evaluation with aggregated metrics in the Hub UI.
Next steps
Section titled “Next steps”- Local agents: evaluate a Python function directly without an HTTP endpoint — see Evaluations
- Generate test cases automatically: use scenarios or knowledge bases — see Datasets & Checks
- Vulnerability scanning: find security weaknesses with Scans
- Schedule recurring runs: see Scheduled Evaluations
- Full API details: see the API Reference