Setup projects
In this section, we will walk you through how to setup projects using the Hub interface.
Create a project
Section titled “Create a project”First, click on the “Settings” icon on the left panel, this page allows you to manage your projects and users (if you have the proper access rights).
In the Projects tab, click on “Create project” button. A modal will appear where you can enter your project’s name and description.
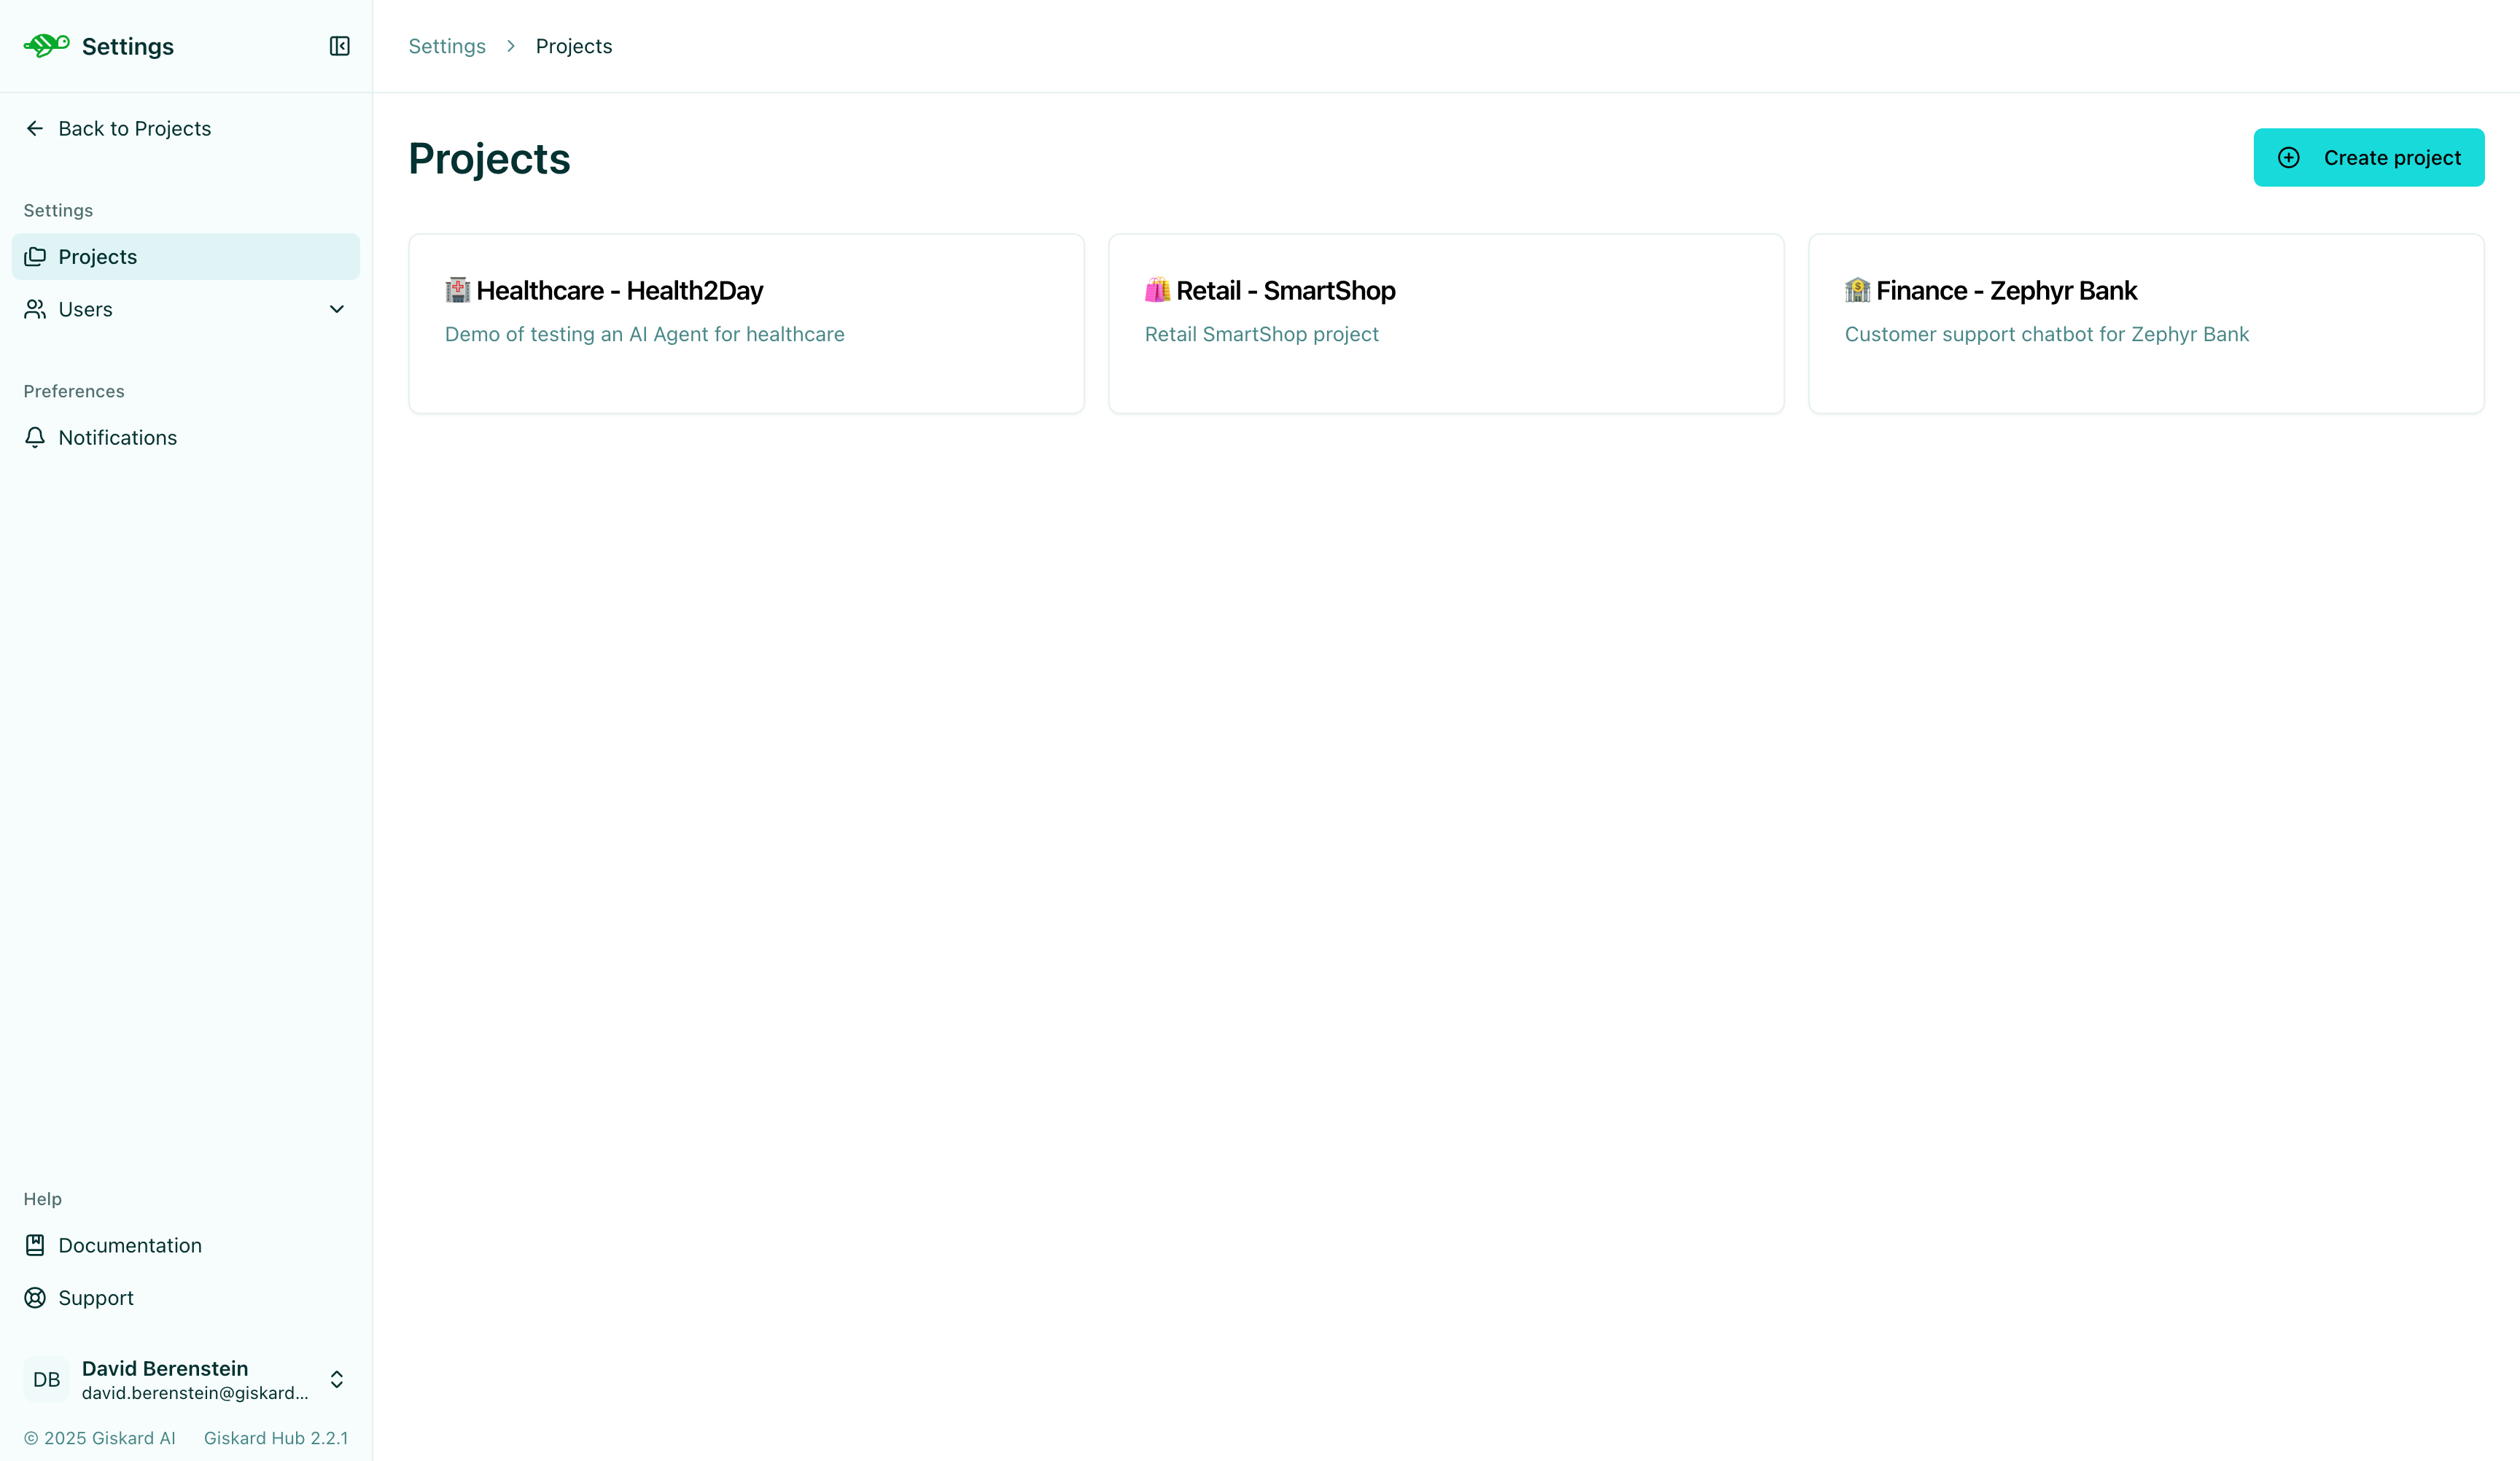
Once the project is created, you can access its dashboard by clicking on it in the list. Alternatively, use the dropdown menu in the upper left corner of the screen to select the project you want to work on.
Next steps
Section titled “Next steps”Now that you have created a project, you can start setting up your agents and knowledge bases.
- Setup agents - Setup agents
- Setup knowledge bases - Setup knowledge bases
- Manage users and groups - Manage users and groups