

Import scenarios
You can import existing scenario datasets from a file. This is particularly useful when you already have a dataset that you want to use for evaluation.
In this section, we will walk you through how to import existing scenario datasets from a JSON, JSONL, or CSV file, obtained from another tool, like Giskard Open Source.
Choose where the scenarios land
Section titled “Choose where the scenarios land”Importing scenarios does not require an existing dataset. You have two options:
- Into a new dataset, created on the fly: you set the name, an optional description, and the schema the dataset will follow, all as part of the import.
- Into an existing dataset: the file must be compatible with the schema the dataset is already bound to.
This section walks through the new-dataset flow first, then the existing-dataset one.
Import into a new dataset
Section titled “Import into a new dataset”On the Datasets page, click the “Import” button in the upper-right corner of the screen.
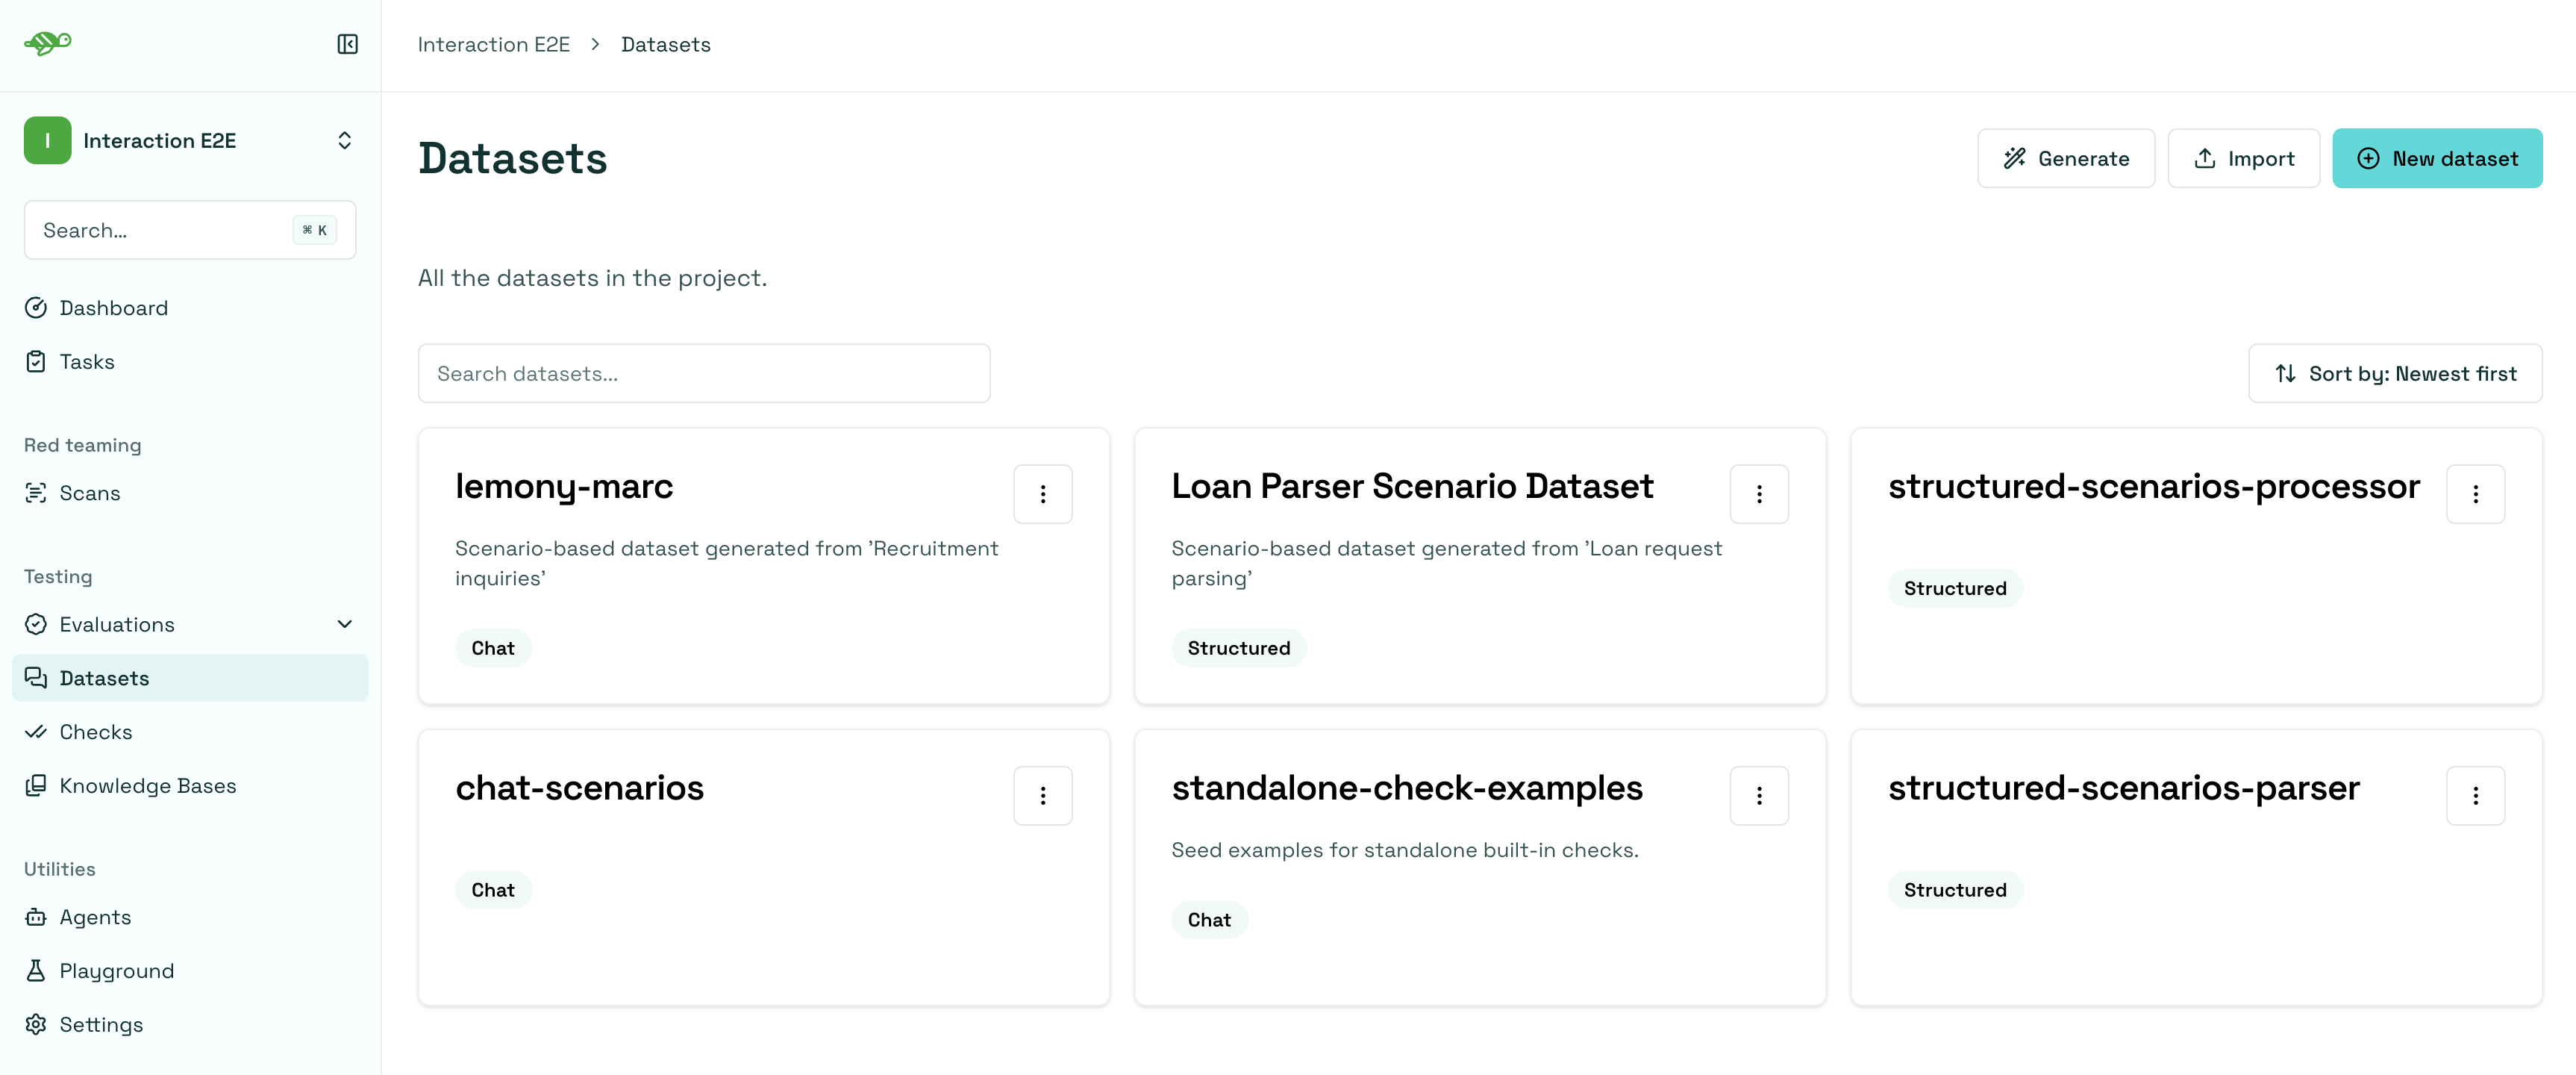
The import is a two-step flow: you first lock the dataset schema, then choose the file to import against it.
Step 1: Dataset details
Section titled “Step 1: Dataset details”Enter a name and an optional description, then choose the schema the new dataset will be bound to. A tab switches between the two schema types. The schema cannot be changed once the dataset is created.
Chat dataset
Section titled “Chat dataset”The standard format, a sequence of alternating user and assistant messages. There is nothing else to configure. Click “Create dataset and continue”.
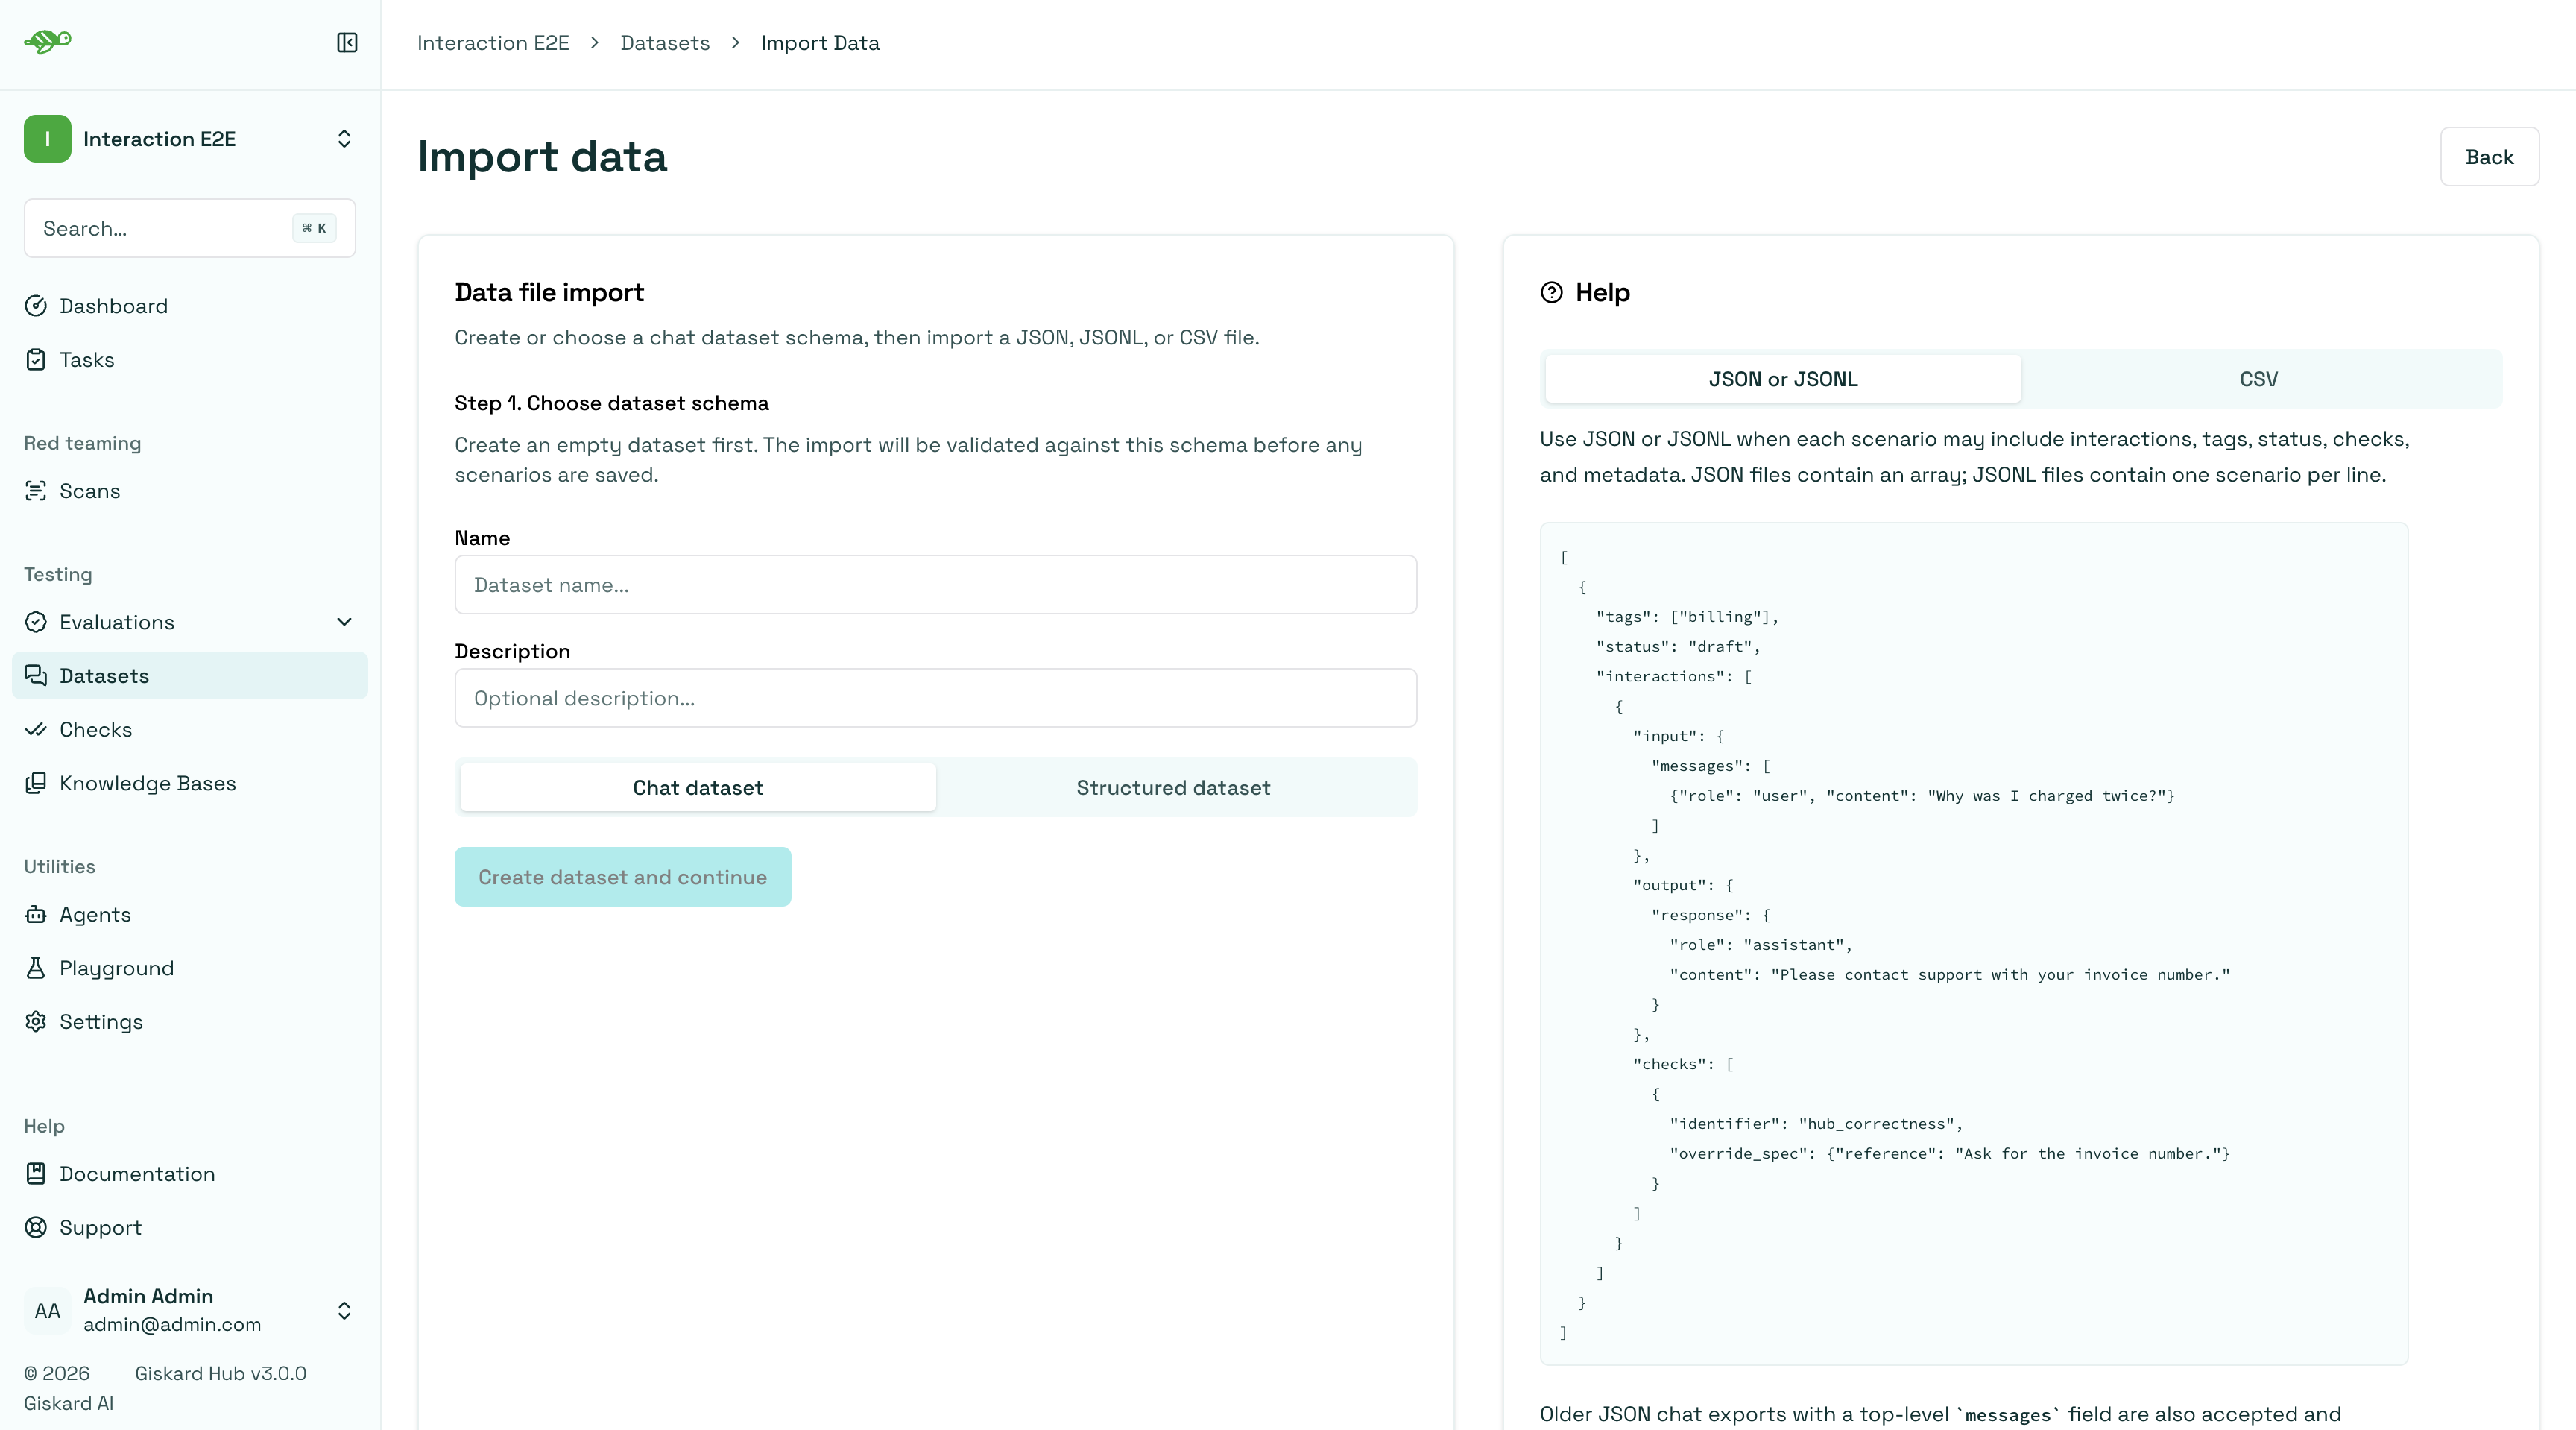
Structured dataset
Section titled “Structured dataset”Any format whose schema is not a chat, defined as custom JSON input and output. An Input schema editor and an Output schema editor appear, both prefilled with a minimal { "type": "object" }.
Select an agent from the Linked agent dropdown to prefill both editors from that agent’s definition, or write both schemas by hand. Linking an agent is optional. When the schemas are ready, click “Create dataset and continue”.
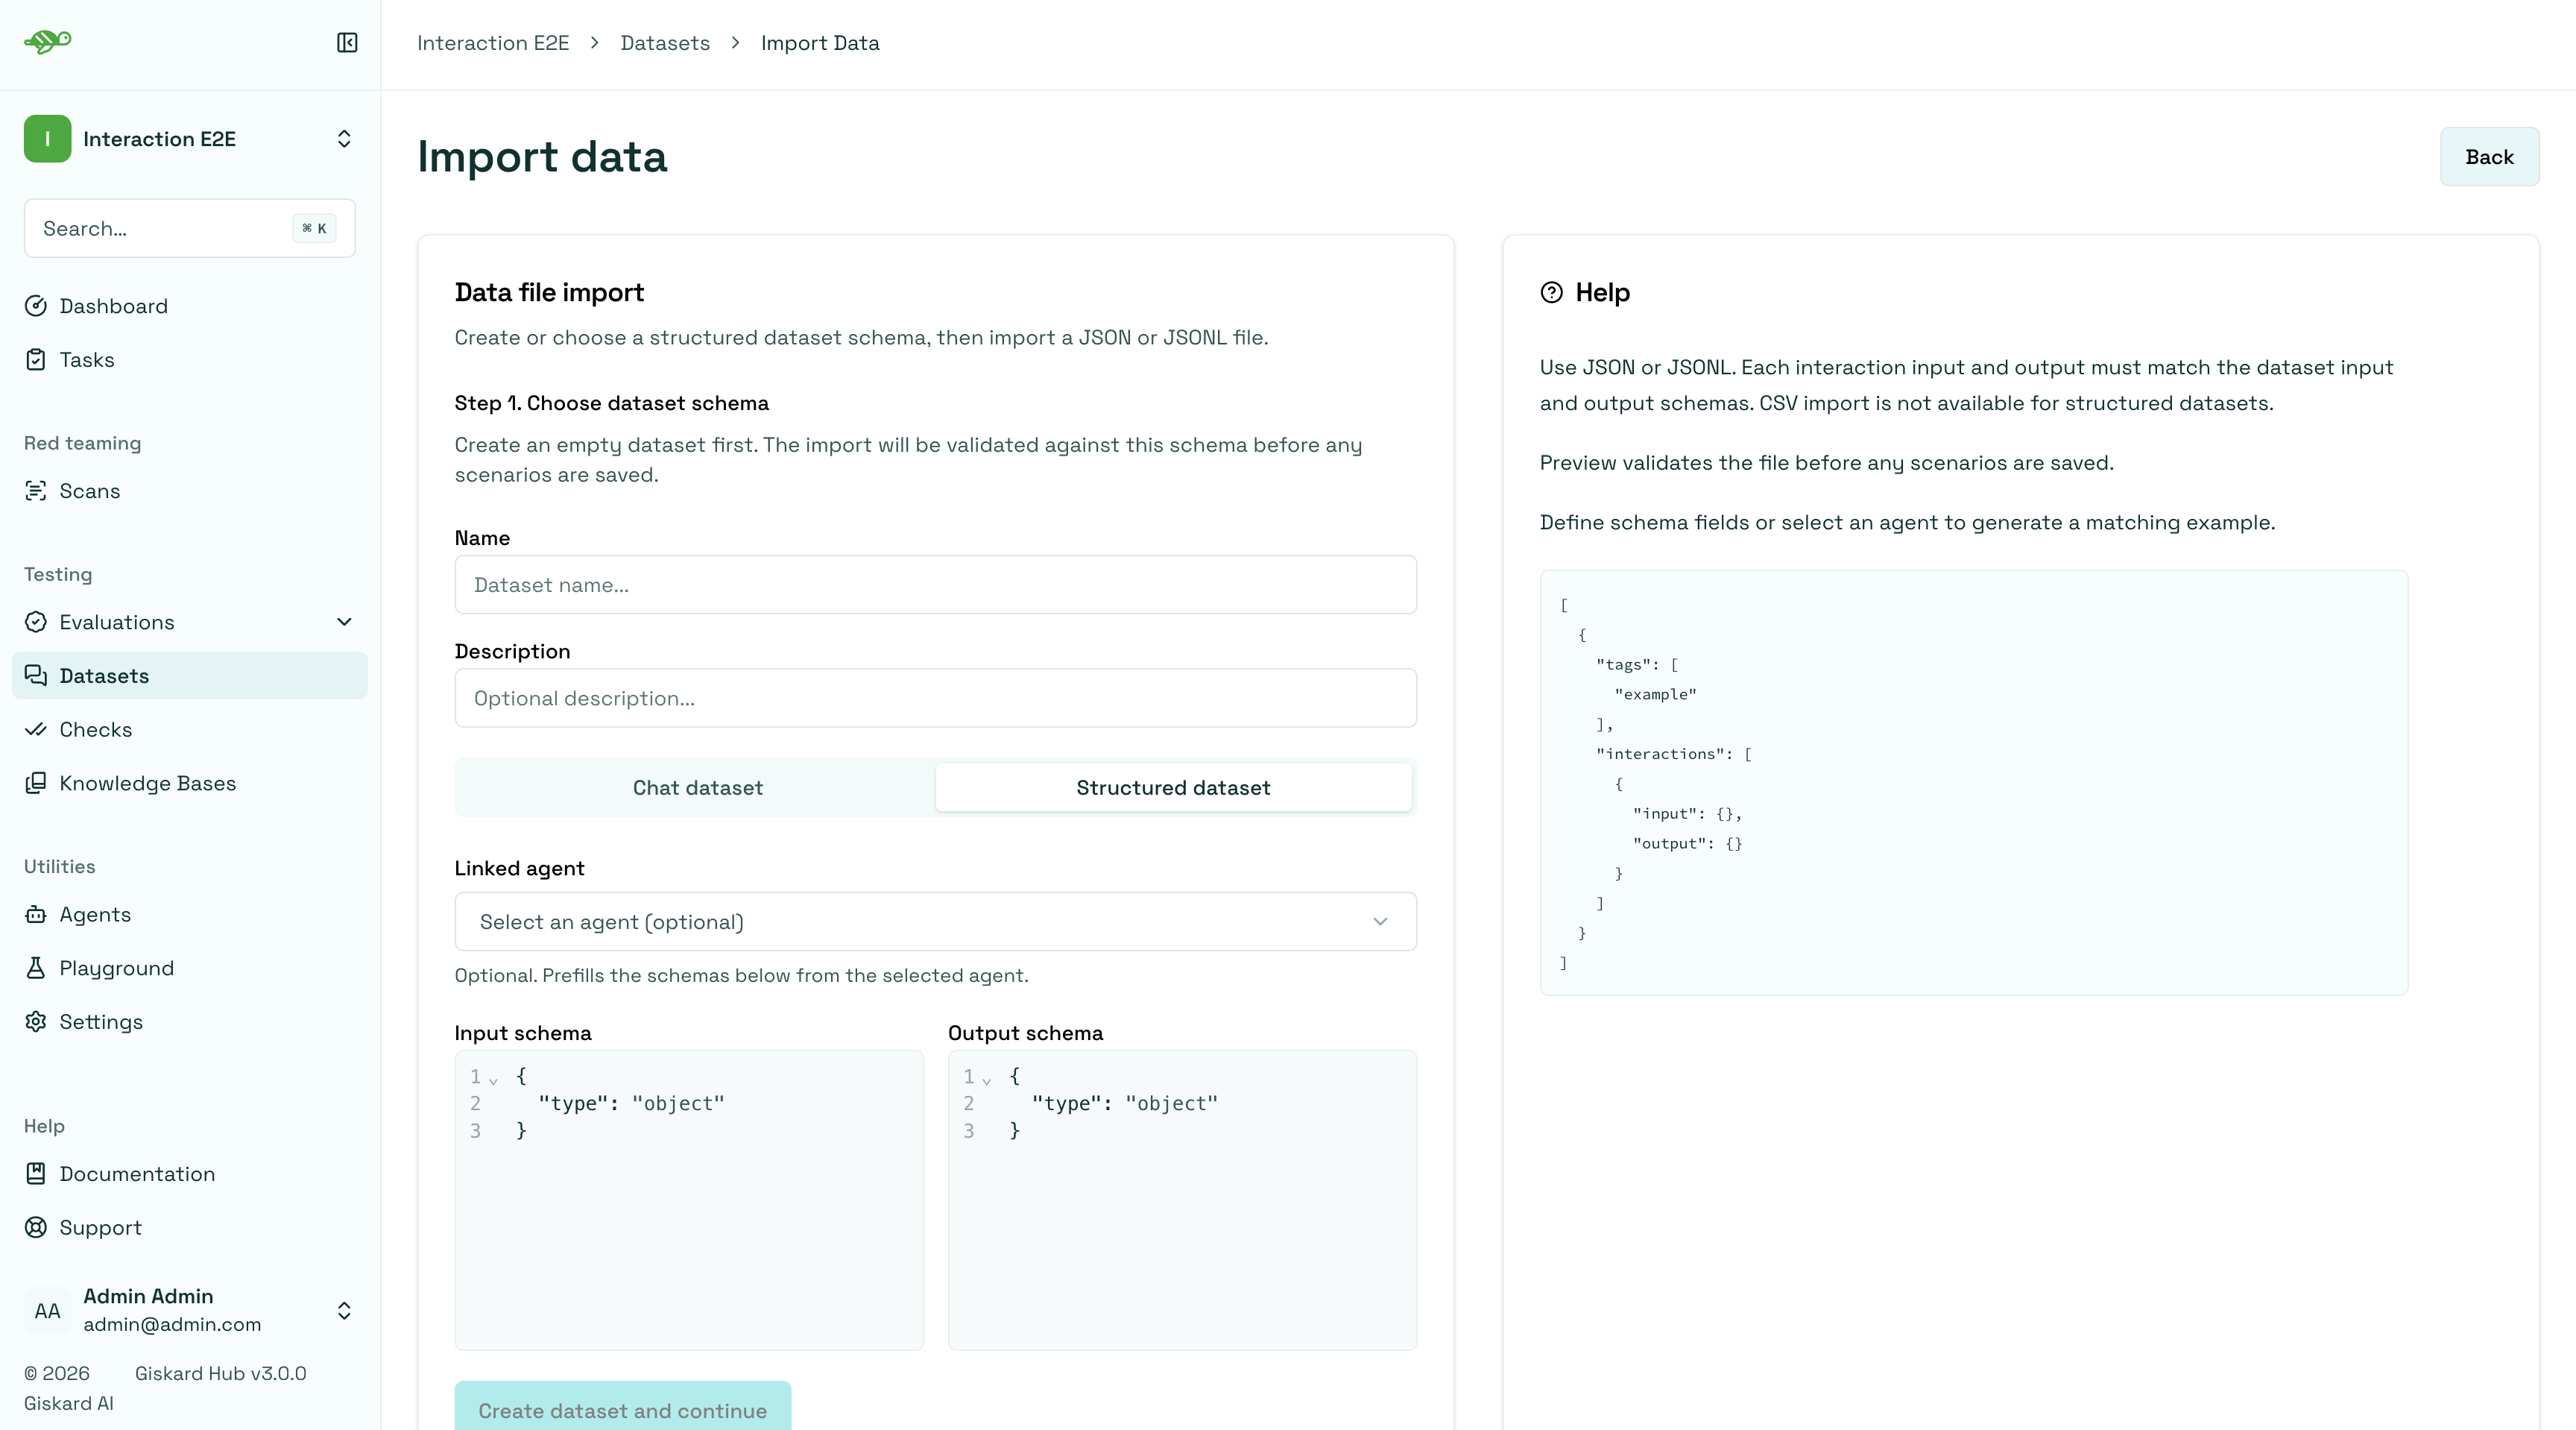
Step 2: Import the file
Section titled “Step 2: Import the file”The dataset now exists and its schema is locked. A banner recaps which dataset you are appending to and the schema type it expects.
Pick the file to import. Accepted formats are JSON, JSONL, and CSV for chat datasets, JSON and JSONL only for structured datasets. The Help panel on the right shows the expected structure for each format.
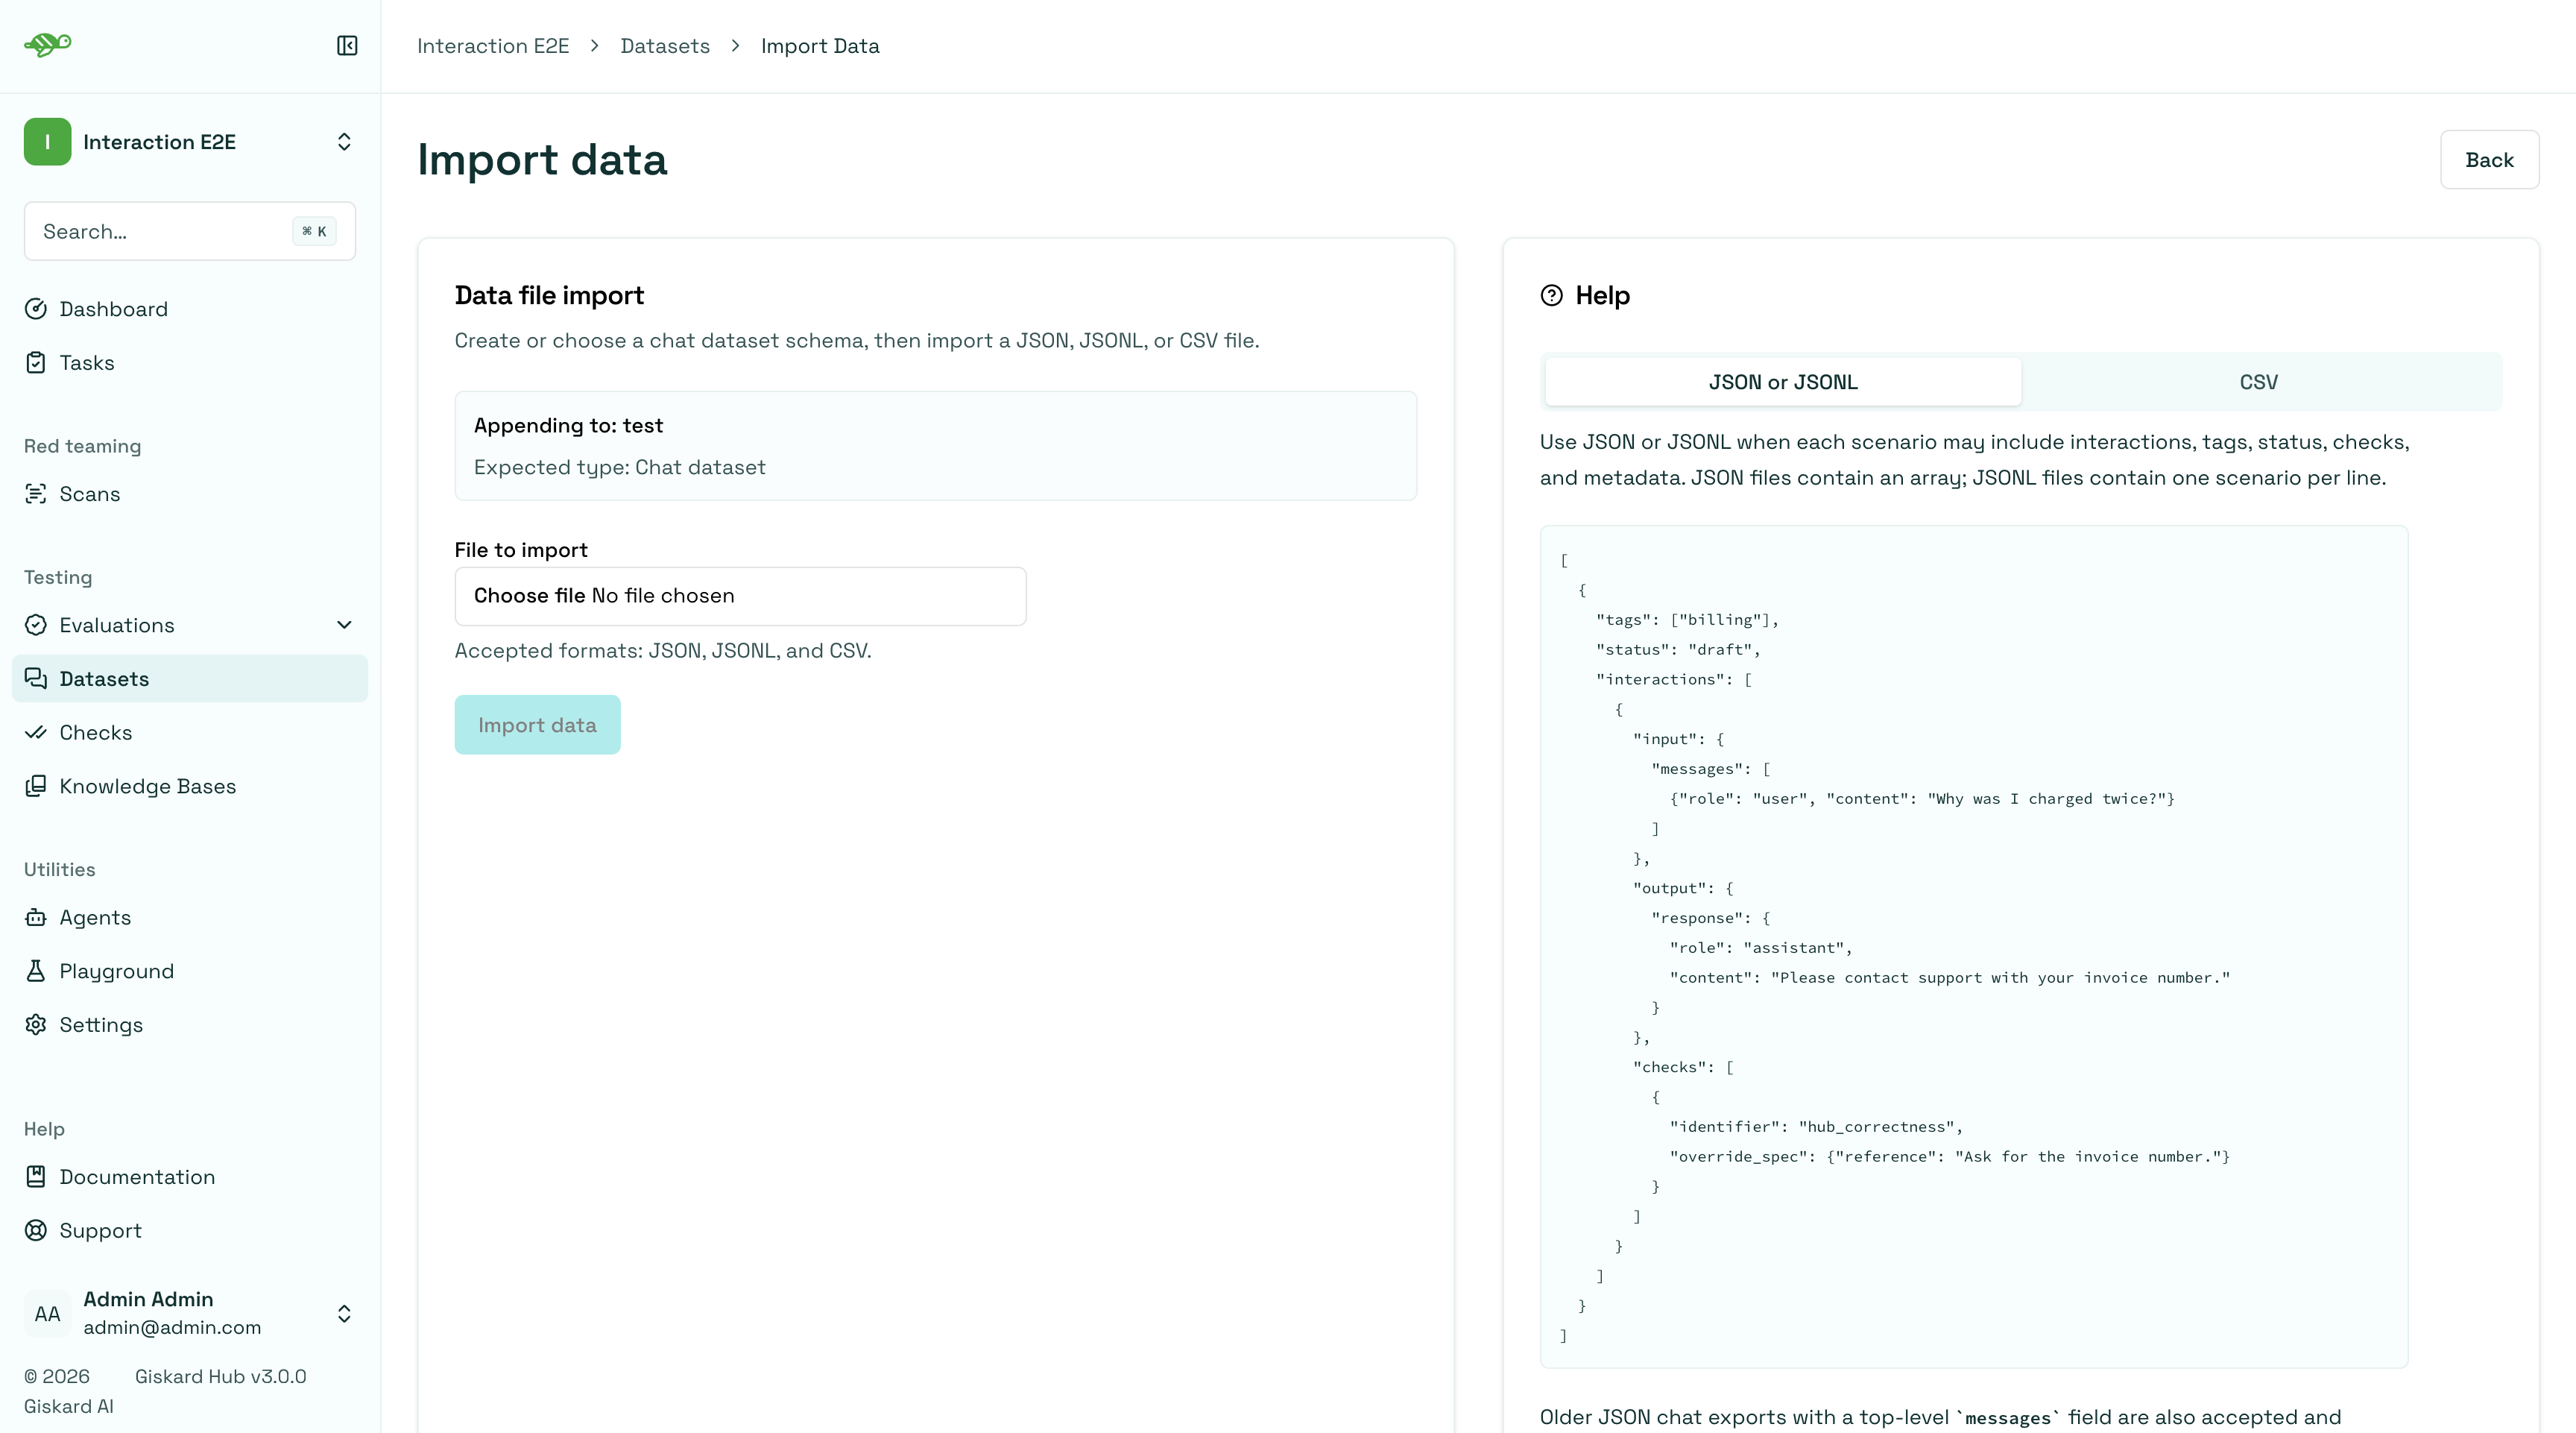
The file is validated against the dataset schema before anything is saved:
- If there is a problem with the file, an error surfaces describing what is wrong.
- If no issue is detected, a Ready to import container appears with the number of scenarios found in the file. Click Import data to save them.
Import into an existing dataset
Section titled “Import into an existing dataset”Open the dataset you want to add to and click its “Import” button. The dataset schema is already locked, so the flow skips straight to step 2: the banner shows the dataset name and its expected schema type, and the file you pick must be compatible with that schema.
Import file format
Section titled “Import file format”Whichever dataset you import into, the file is validated against its schema before any scenario is saved. The Help panel on the import screen carries the same reference; switch its tab to match the format of your file.
JSON or JSONL (chat and structured)
Section titled “JSON or JSONL (chat and structured)”Use JSON or JSONL when a scenario carries more than a single user message: several interactions, tags, status, checks, or metadata. A JSON file is an array of scenarios; a JSONL file has one scenario object per line.
Each scenario object accepts:
interactions(required): an ordered list of turns. Each interaction has aninput, an optionaloutput, and an optionalcheckslist. The output is produced when you run the scenario, so it is usually left out at import.tags(optional): a list of labels to categorize the scenario.status(optional):draftoractive.
The shape of input and output follows the dataset schema:
- Chat:
input.messagesis a list of OpenAI-format messages;output.responseis a{ "role": "assistant", "content": "..." }object. - Structured:
input.inputis an object matching the dataset’s input schema;output.outputis an object matching its output schema.
Each check is an object with an identifier (for example hub_correctness, hub_conformity) and an override_spec holding that check’s configuration. Datasets exported from the Hub carry a fuller internal shape for checks and import back without changes.
Chat example:
[ { "tags": ["billing"], "status": "draft", "interactions": [ { "input": { "messages": [ { "role": "user", "content": "Why was I charged twice?" } ] }, "output": { "response": { "role": "assistant", "content": "Please contact support with your invoice number." } }, "checks": [ { "identifier": "hub_correctness", "override_spec": { "reference": "Ask for the invoice number." } } ] } ] }]Structured example. The input.input and output.output objects follow this dataset’s own schema, so loan_type, loan_amount and the rest come from the schema you defined, not from Giskard:
[ { "tags": ["example"], "status": "active", "interactions": [ { "input": { "input": { "user_message": "I need a $5,000 personal loan, I earn $20k a year." } }, "output": { "output": { "parsed": { "loan_type": "personal", "loan_amount": 5000, "annual_income": 20000 }, "status": "awaiting_confirmation", "message": "Thanks, could you confirm the loan term you have in mind?" } } } ] }]CSV (chat only)
Section titled “CSV (chat only)”CSV import is available for chat datasets only. Each row creates one scenario with a single interaction.
- Required column:
user_message, the message from the user. - Optional columns:
bot_message(the agent’s answer),bot_metadata,expected_output(the reference answer),reference_context(the context the agent must ground its response in),status. - Repeated optional columns:
tag_*,rule_*,check_*(for exampletag_1,tag_2).
Example:
user_message,bot_message,tag_1,expected_output,rule_1,check_1,status"Hi agent!","How can I help you?",greeting,"How can I help you?","The agent should be polite",custom_politeness,activeNext steps
Section titled “Next steps”- Agentic vulnerability detection - Try Vulnerability Scanner
- Generate knowledge base scenarios - Try Knowledge base scenarios
- Generate prompt preset scenarios - Try Prompt preset scenarios
- Review scenarios - Make sure to Annotate